Viroo Visual Scripting integration sample
The VIROO Studio package contains an example that will teach you how to access VIROO functionality from Unity's Visual Scripting framework to create multi-user experiences.
It shows you how to use functionality provided by VIROO from a Visual Scripting context:
- VIROO ready event
- VIROO Network Variables
- Player connection and disconnection events
- Network connection and disconnection events
- Creating custom units that can access VIROO services
- Integration between Script machines and custom VIROO Actions
You'll also see how to prepare your Script machines to work over a network, synchronizing the logic for all users who are part of the session.
Getting Viroo Visual Scripting sample
Follow this steps to obtain Viroo Visual Scripting integration:
- Open Package Manager:
Window -> Package Manager. - Find
Viroo Studiopackage. - Open
Samplestab and clickImportonViroo Visual Scripting integration.
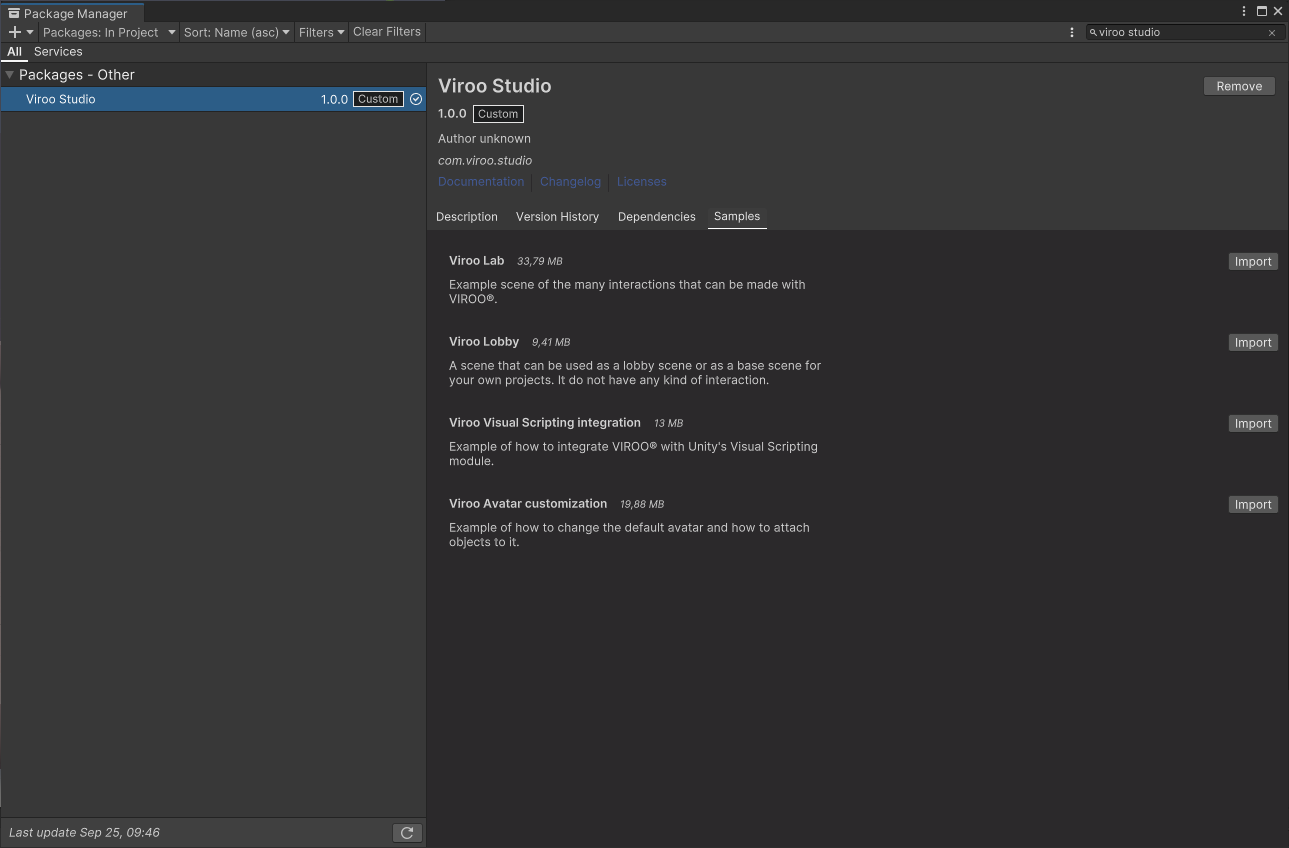
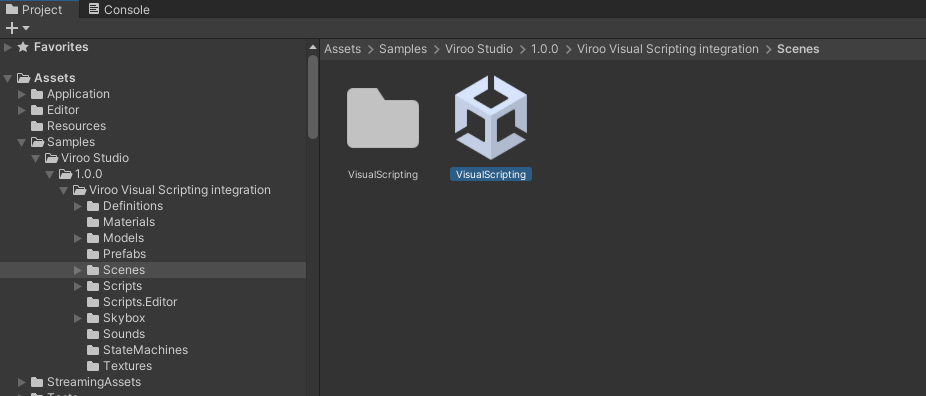
This will add the VIROO Visual Scripting scene to your project, in the Assets/Samples/Viroo Studio folder.
In order to be able to use custom Viroo Visual Scripting nodes, you'll also need to add the following references in your Project Settings.
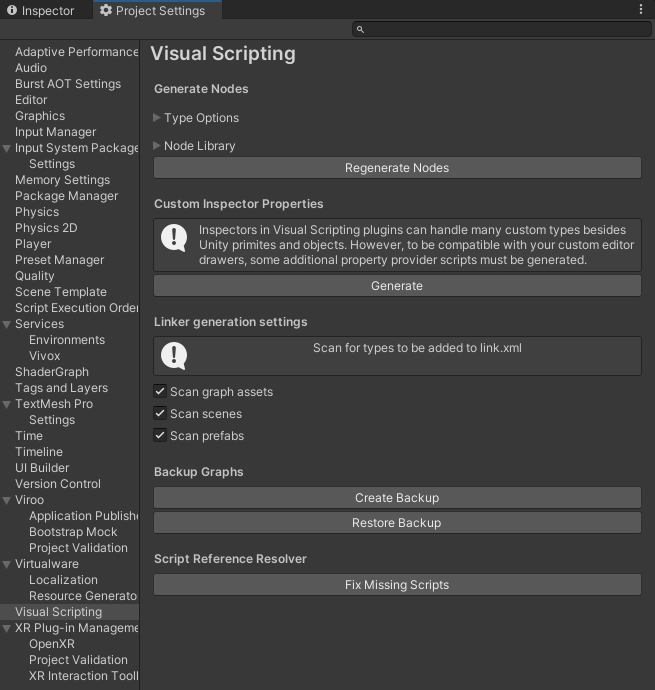
- Open Unity's Project Settings' Visual Scripting Section:
Edit -> Project Settings -> Visual Scripting. - Expand the
Node Librarysection. - Add references to
Virtualware.Networking,Viroo.Interactions,Viroo.Interactions.Unity,Viroo.StudioandViroo.Studio.Unity. - Press the
Regenerate Nodesbutton.
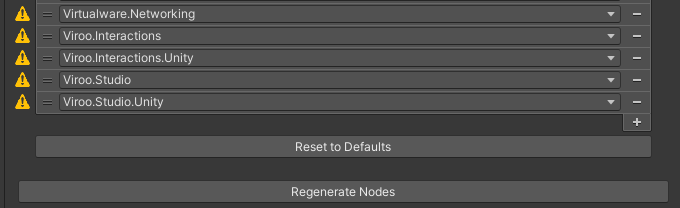
These steps will allow you to reference Viroo's custom Visual Scripting nodes in your Script Machines.
Context Menu -> Events -> VirooContext Menu -> Viroo
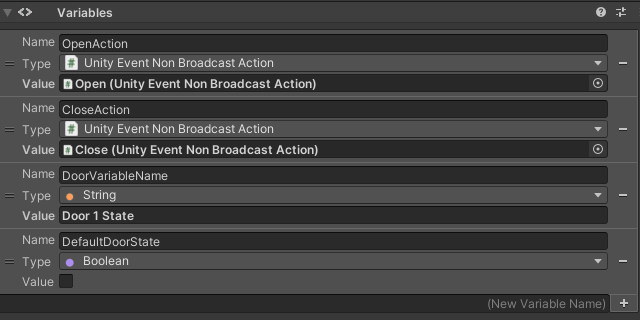
Additionally, you will be able to reference Viroo MonoBehaviour components as Visual Scripting variables.
Testing Viroo Visual Scripting sample
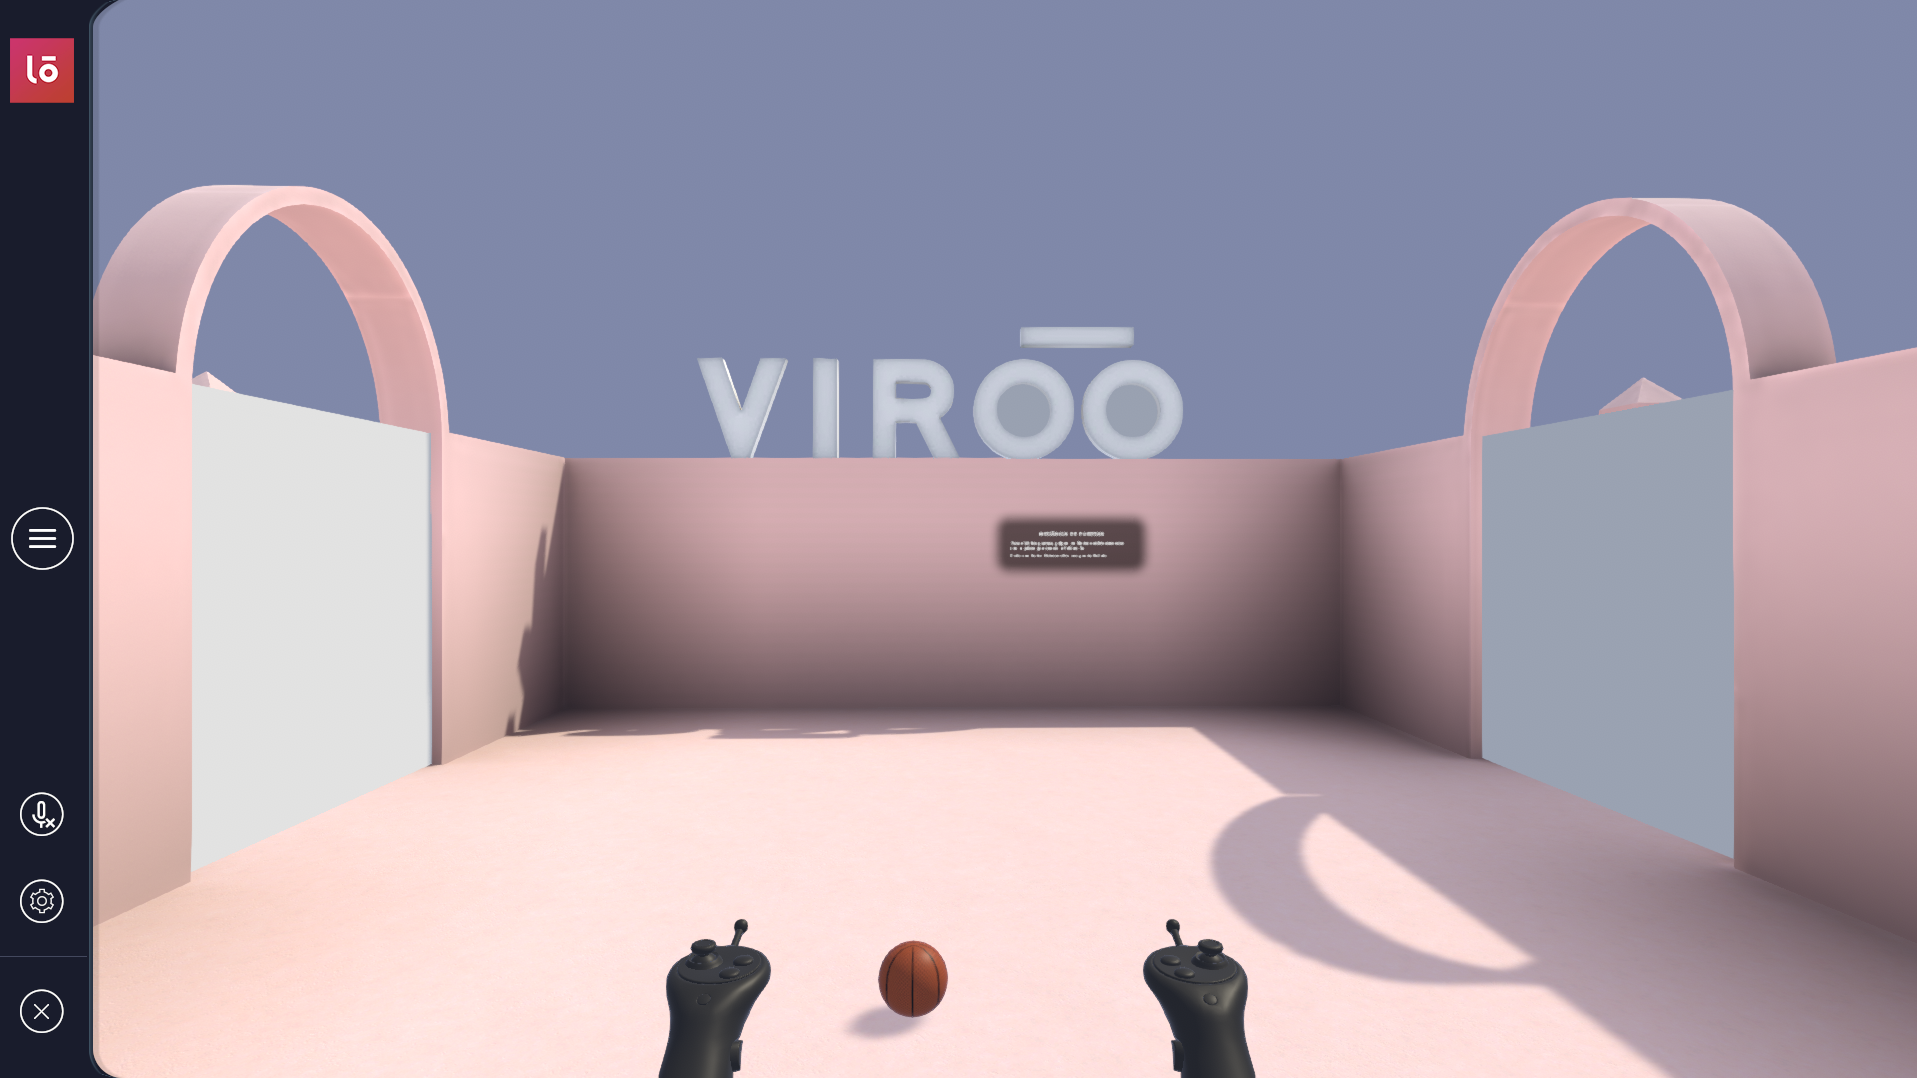
Open the scene named Visual Scripting and enter Play mode to test the interactions it provides.