Extend the Interaction System
The Interaction System provides many Actions to add interaction to your scene. On some occasions you may encounter cases that are not solved by it and you will have to create your own code to solve.
In many cases, the best way to add functionality to your scene, that has to be executed on all users across the network, is to create your own Action to extend the VIROO Interaction System.
An Action contains a block of logic that you can call on the local user instance, or on those of all users who have joined the session.
Create your own Action
Start by creating a script for your own Action, for example, CustomAction.cs. This class has to inherit from BroadcastObjectAction.
The BroadcastObjectAction class is found in the
Viroo.Interactionsassembly, see Add Custom Code to a VIROO Scene, in the Add VIROO dependencies to your Assembly section, to see how to reference the VIROO assemblies you need.
In your new class you will have to implement the LocalExecuteImplementation function, this will be the code block that your Action will use.
using Viroo.Interactions;

public class CustomAction : BroadcastObjectAction
{
    protected override void LocalExecuteImplementation(string data)
    {
        // Your code goes here
    }
}
Then, when you want to execute your Action, you will have two functions you can call on this object:
- Execute: your action is executed for all users. The
LocalExecuteImplementationmethod will be called for all users. - LocalExecute: your action is only executed by the local player. The code you have inside
LocalExecuteImplementationwill only be executed by the user who calls the function.
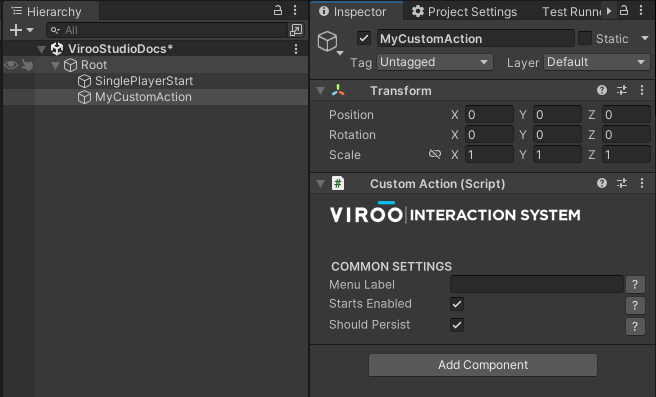
Add this script to your Scene
Now, you can add this script to any GameObject inside your scene.
Now, you can use it in any other of your components to call the Execute or LocalExecute functions.
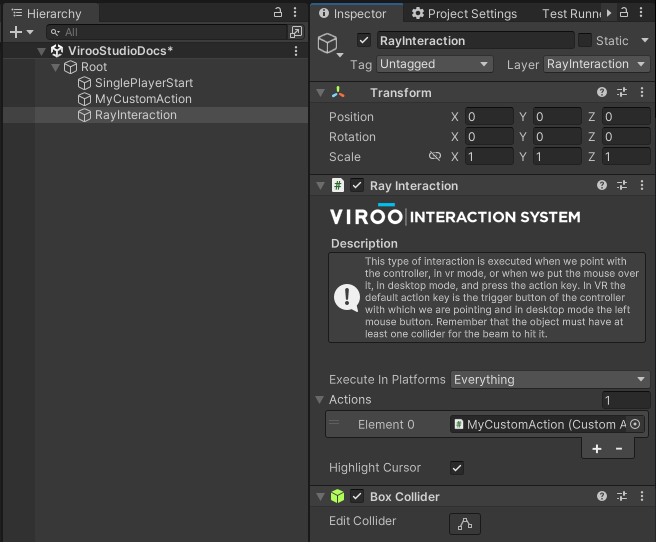
Calling your Action as a result of an Interaction
Drag your Action to the Actions list of any Interaction and the Action will be triggered whenever that Interaction is performed.
In the following example, we have the Custom Action code called as a result of interacting with an object with RayInteraction.
Calling your Action as a result of another Action
If you want your action to be called as a result of another action being executed, you can use the Actions events to do so.
In the following example, the action will be called when another object finishes moving, so we are using the OnActionFinished event.
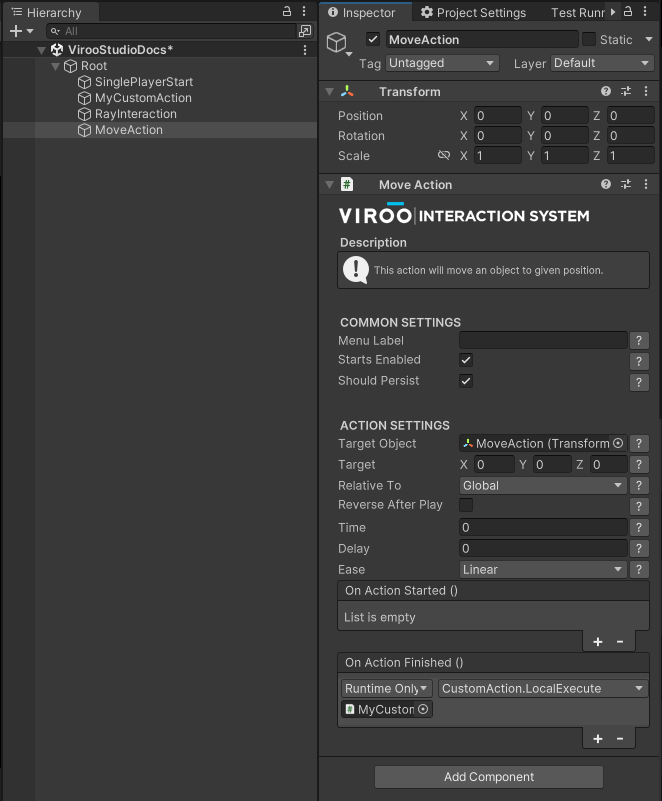
Note
Notice that the method being called is LocalExecute and not Execute. The reason for this is that, when the MoveAction is called, that Actions is already being called for all users in the session.
When chaining actions, you usually need to use LocalExecute on nested Actions, and only the first one should be called with Execute.
Synchronize data using the Actions
You can use the Actions' Execute function to synchronize data over all users in the session.
The Actions allow you to pass, in the Execute function, a string parameter that is then received in the LocalExecuteImplementation function.
If you use this parameter when you call the Execute function, you will be able to access it from all instances of the session to synchronize data.
In the following example we have created a public function called ExecuteCommand1 that will call the Execute function passing data. This public function can be called from your own code or from the scene.
public class CustomAction : BroadcastObjectAction
{
    public void ExecuteCommand1()
    {
        Execute("command1");
    }

    protected override void LocalExecuteImplementation(string data)
    {
        switch (data)
        {
            case "command1":
                // Do stuff for command 1
                break;
            case "command2":
                // Do stuff for command 2
                break;
        }
    }

    public override void RestoreState(string data)
    {
        base.RestoreState(data);

        // Resets the status of this Action for users who join later after it has been executed
        // Overriding this method is optional
    }
}
The data parameter can be used for simple data in string format. For more complex data, consider serializing it in string format (for example, in json).
A user could join the scene after this Action has been executed once or several times. To make the scene of that user, who has joined late, consistent with that of the rest of the users, the Actions call the RestoreState method on startup, once for each of the times the Action has been executed, and with the data it has received for each of the executions.
Take into account that when restoring the state of Actions for a user that has joined a session, the RestoreState method is called for each of the stored executions of that action. For this, it is recommended to avoid time consuming operations, like animations or Tweens, and directly setting the state that running the Action would achieve with the received data (e.g.: set the end position instead of triggering a move animation).
Include your action in the compilation of your VIROO Scene
The custom code created for your Scene must be included in the Scene Publisher window to be included with your scene.
To see how to do this go to Add Custom Code to a VIROO Scene.